Configuring forms based authentication (FBA) in SharePoint 2013 is very similar to SharePoint 2010, but there are some differences due to SharePoint 2013 using .Net 4.0. The web.config entries entries are slightly different. As well, IIS doesn’t support editing .Net 4.0 membership provider configuration through the IIS interface, so all of the configuration has to be done directly in the .config files. I’ll go through all of the steps required to setup FBA for SharePoint 2013, from start to finish. I’ve broken down the steps into 4 sections:
Part 1 – Creating the Membership Database
Part 2 – Adding Users to the Membership Database
Part 3 – Editing the Web.Config Files
Part 4 – Configuring SharePoint
Part 4 – Configuring SharePoint
Now that the membership and role provider have been configured, we can configure SharePoint to use them. For this example i’m going to create a new SharePoint web application. The same settings can be applied to an existing web application through the Authentication Providers dialog.
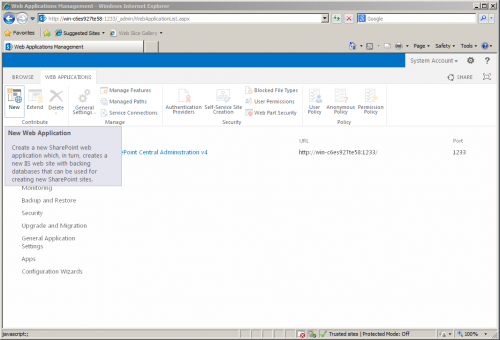
- Open SharePoint Central Administration -> Application Management -> Manage Web Applications.
- Click “New” to create a new Web Application.
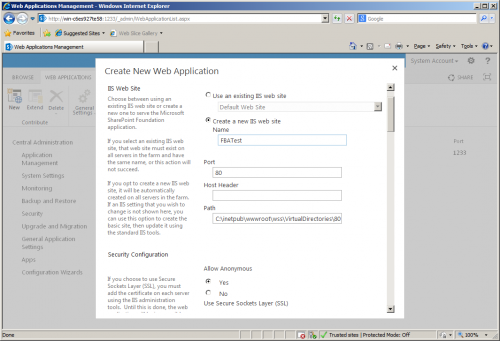
- Name the web application and adjust any other options to your preferences.
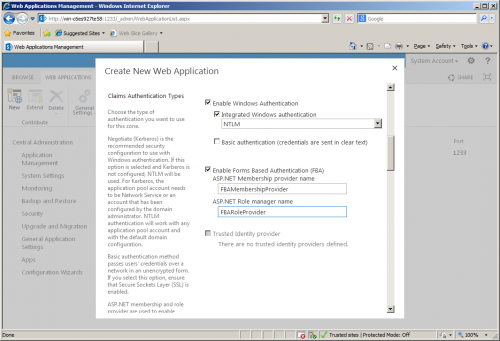
- Check “Enable Forms Based Authentication (FBA)”. Enter the ASP.Net Membership Provider Name and ASP.NET Role Provider Name that you configured in the web.config. For this example we used “FBAMembershipProvider” and “FBARoleProvider” (Without the quotation marks).Also, for this example we left “Enable Windows Authentication” checked. This allows us to login either via Windows Authentication or Forms Based Authentication (SharePoint will prompt you when you login for which method you’d like to use).Click OK.
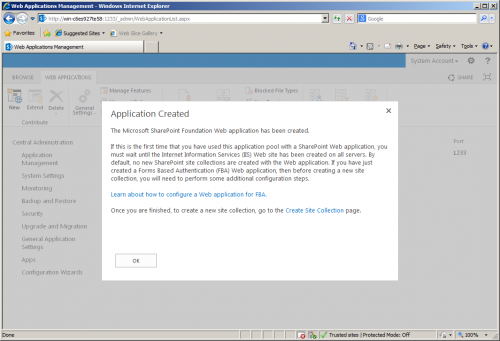
- An Application Created dialog will appear. Click the “Create Site Collection” link to create the first site collection for this web application.
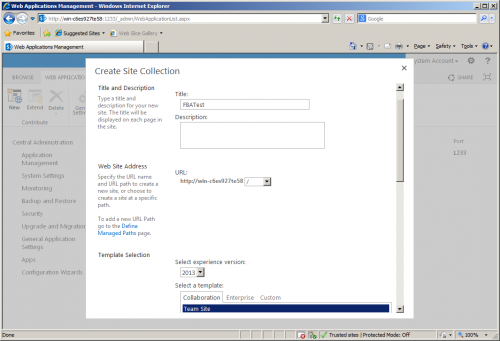
- From the Create Site Collection dialog, give the site collection a name and URL and select a template.
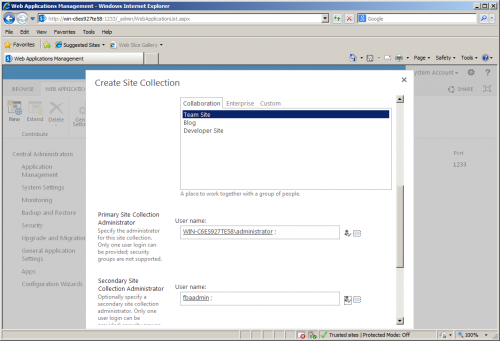
- For the Primary Site Collection administrator, i’ve left it as my Windows administrator account, so that I can login without FBA. For the Secondary Site Collection Administrator i’ve set it to ‘fbaadmin’ – the FBA account we setup in Part 2 (If you skipped Part 2 because you’re using the SharePoint 2013 FBA Pack, then you can just leave this blank for now and use your domain account to login to SharePoint and create your FBA users). You can set these to whatever is appropriate for your setup. Click OK.
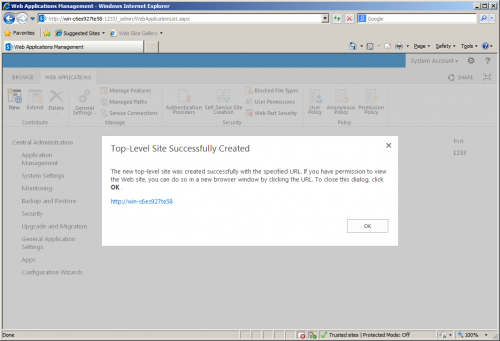
- You’ll get the “Top-Level Site Successfully Created” dialog. You can click on the URL to visit the new site collection you just created.
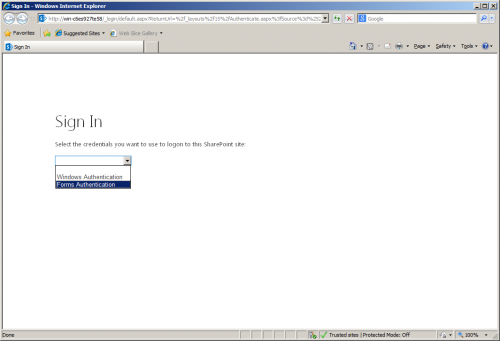
- When authenticating to the site collection, if you enabled both Windows Authentication and Forms Based Authentication, you’ll be prompted for which method you’d like to use to authenticate. I’m going to choose to authenticate with Forms Authentication.
- You’ll be prompted for a username and password. Enter the username and password that we created in Part 2, and also set as the Secondary Site Collection Administrator.
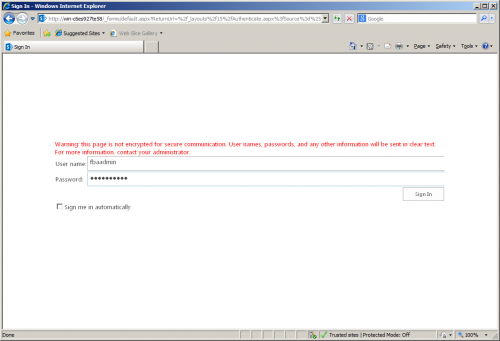
- You’re now logged into the site as a site collection administrator.
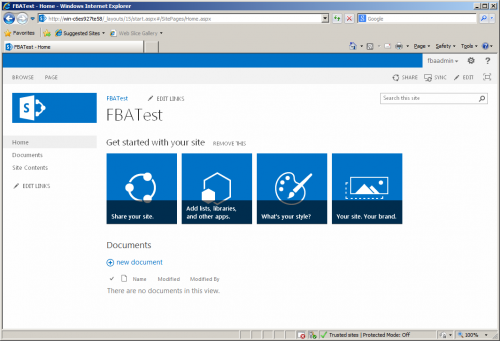
That’s it! Now you can authenticate to the site with Forms Based Authentication. You can also create and edit users using the methods discussed in Part 2. Be sure to check out the SharePoint 2013 FBA Pack, which will allow you to manage your forms based users directly within SharePoint, as well as provide methods for users to register, change their password and recover their password.
Leave a Reply