Configuring forms based authentication (FBA) in SharePoint 2013 is very similar to SharePoint 2010, but there are some differences due to SharePoint 2013 using .Net 4.0. The web.config entries entries are slightly different. As well, IIS doesn’t support editing .Net 4.0 membership provider configuration through the IIS interface, so all of the configuration has to be done directly in the .config files. I’ll go through all of the steps required to setup FBA for SharePoint 2013, from start to finish. I’ve broken down the steps into 4 sections, so if you already have an existing membership database setup from a previous version of SharePoint, feel free to skip forward to Part 3.
Part 1 – Creating the Membership Database
Part 2 – Adding Users to the Membership Database
Part 3 – Editing the Web.Config Files
Part 4 – Configuring SharePoint
Part 1 – Creating the Membership Database
The first thing you need when configuring FBA for SharePoint is a place to keep all of the usernames and passwords. ASP.Net comes with a tool that we’ll use to create a membership database to store the logon information.
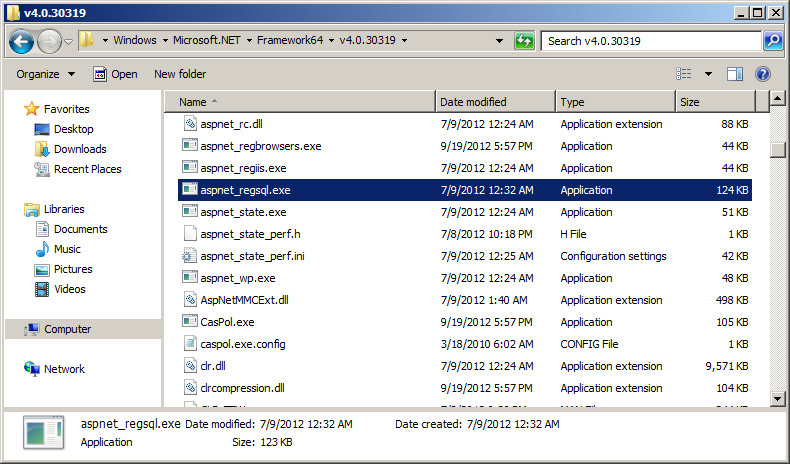
- Navigate to c:\windows\Microsoft.NET\Framework64\v4.0.30319\
- Run “aspnet_regsql.exe”

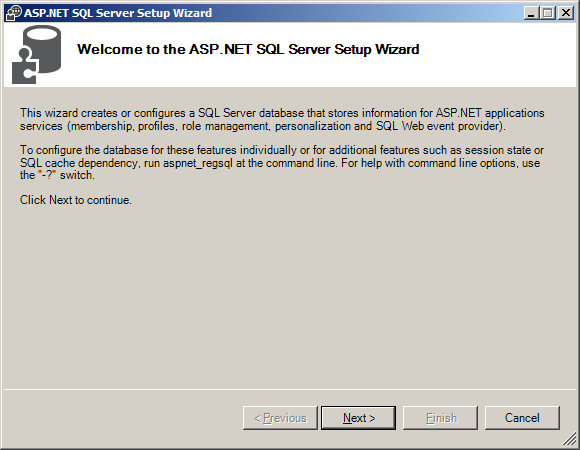
- A welcome screen will appear. Click Next.
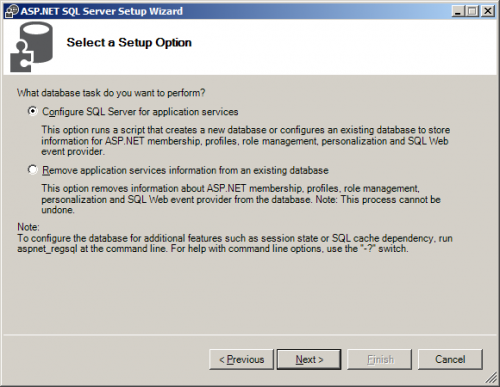
- Select “Configure SQL Server for application services” and click Next.
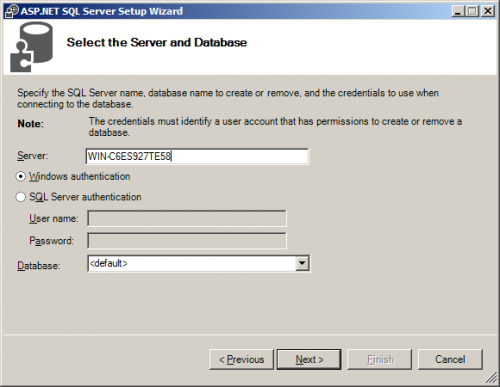
- Enter the name of your server and your authentication information. In this case SQL Server is installed on the same server as SharePoint 2013 and I am logged in as an administrator and have full access to SQL Server, so I choose Windows Authentication.For the database name, I just leave it as <default>, which creates a database called “aspnetdb”.
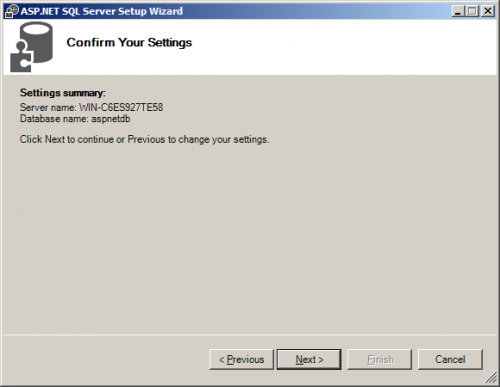
- A Confirm Your Settings screen will appear. Click Next.
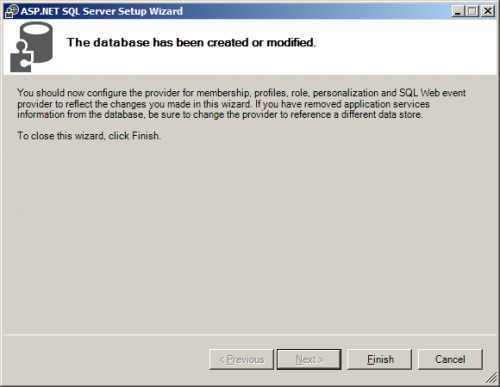
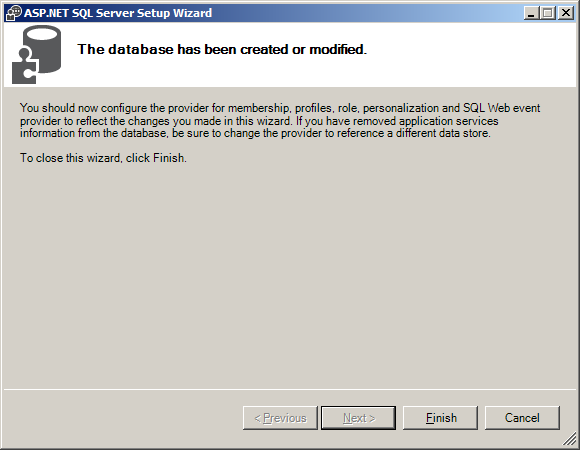
- A “database has been created or modified” screen will appear. Click finish and the wizard will close.
- Now that the database has been created, we’ll have to give SharePoint permissions to read and write to it. We’re going to connect to the database with Windows Authentication, so we’re going to have to give those permissions to the service account that is being used to run SharePoint.First, let’s find out the service account that’s being used to run SharePoint. Open IIS, go to “Application Pools”. Take a look at the “Identity” that is being used to run the SharePoint application pools. On my test server, it happens to be my administrator account that is being used, but it will probably be different on your machine. Make note of the identity used.

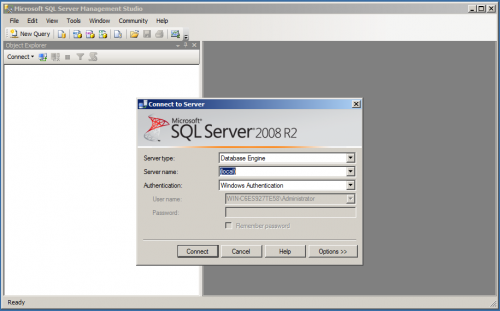
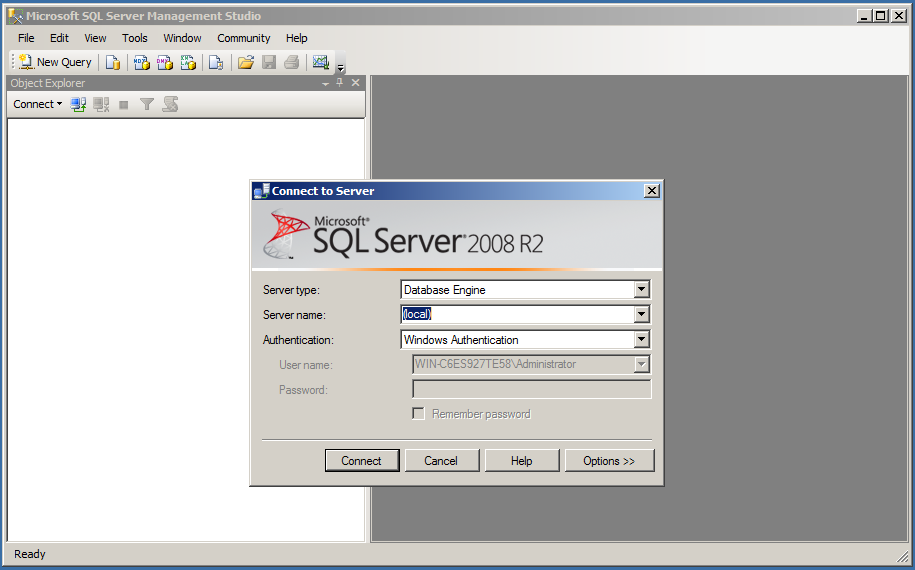
- Now that we know what account is being used to run SharePoint, we can assign it the appropriate permissions to the membership database we created. Open up SQL Server Management Studio and log in as an administrator.
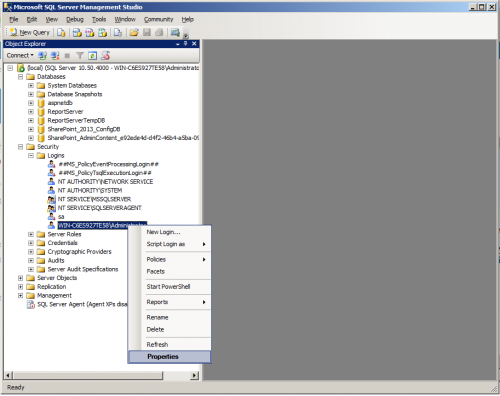
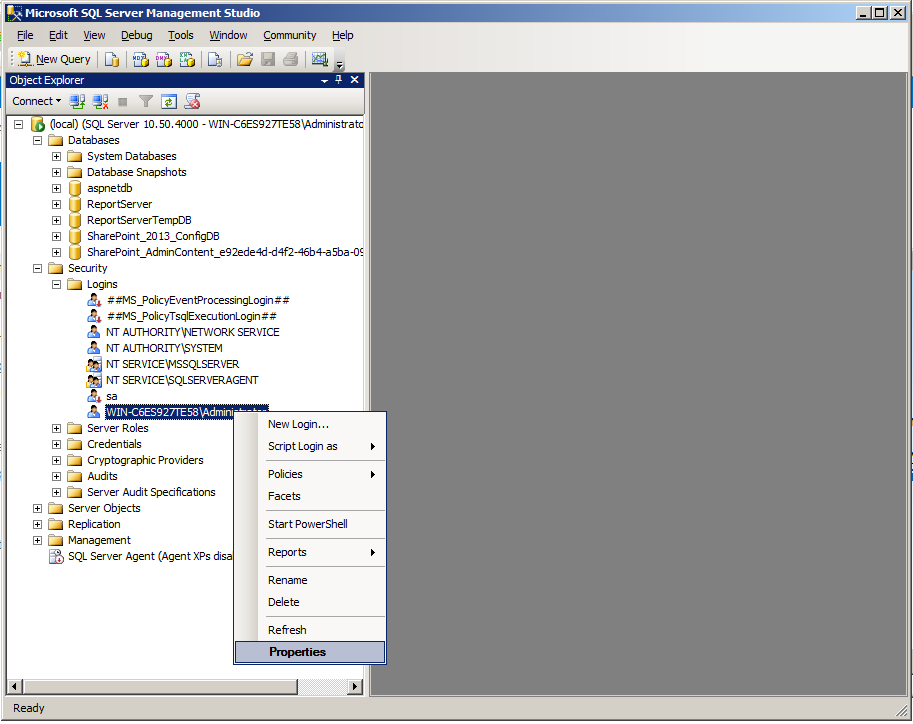
- Under Security/Logins find the user that SharePoint runs as. Assuming this is the same database server that SharePoint was installed on, the user should already exist.Right click on the user and click ‘Properties’.
- Go to the “User Mapping” Page. Check the “Map” checkbox for the aspnetdb database. With the aspnetdb database selected, check the “db_owner” role membership and click OK. This user should now have full permissions to read and write to the aspnetdb membership database.


Continue to Part 2 – Adding Users to the Membership Database.
Leave a Reply